

Want to decorate your home in an easy, quick, and cheap way? We teach you how to transform your wooden furniture with this technique.
Decorating is an art in which you can change the look of a room or object. Give it a new meaning or even a second life. There are many techniques and materials that can be used to decorate something in a simple way. At home. One of the simplest techniques is transferring images onto wooden surfaces. In this article, we will explain how to give your furniture or wooden objects New look in a cheap, easy and fast way..
material
Before starting the craft The most important thing we have is All necessary materials This is done to perfection and we have organized everything into a spacious and clean work area. The materials needed to transfer images on wood include:
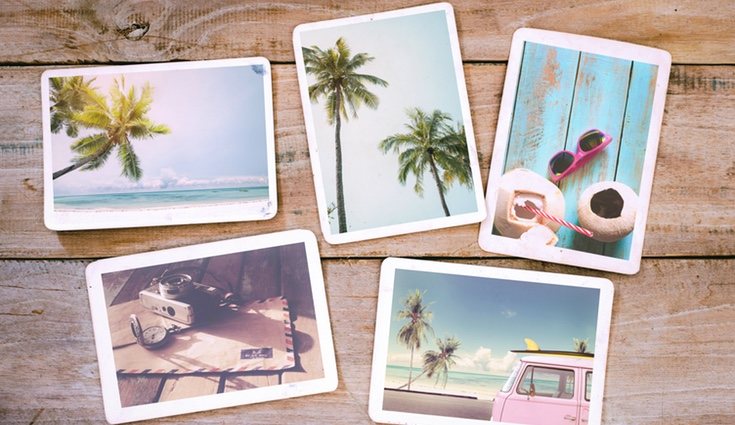
- Printed photos or drawings that we want to transfer Need to be laser printed And if possible, on thin paper, such as regular paper, and not on cardboard or photographic paper.
- wood texture where we want to transfer the image It can be furniture, a box, a simple piece, or anything made of wood. It doesn’t matter the size, type of wood, or thickness of the wood. It is recommended that the surface Any type of varnish is not counted. Because it may make transferring money difficult.
- Medium matte gel or image transfer products These types of products are easy to find in DIY stores or craft stores.
- brush So that the product can be applied to the wood.
- spatula or a hard plastic card to help the gel spread well and not form lumps
- g Rag.
- g sprayer with water
- Matte varnish.
 Apply a layer of varnish to protect the result.
How to transfer pictures on wood step by step
-
- First of all, before starting the transfer to wood, it is necessary Choose a photo or the drawing you want to transfer. Once selected, you will need Laser printed And on sheets of paper or thin paper, both color and black and white can be printed. It is important to know when transferring an image onto a wooden surface. The picture will be reversed.In other words, it is like a reflection of a mirror. For this reason, if you want the transferred image to look like the original, you must print upside down. Once we have the printed image it will be convenient. cut out without leaving white parts of the paper around the image
- Second place We use a medium-sized matte gel. On the wooden surface we will transfer. To do this, with the help of a brush, we apply several layers of gel on the wood, distributing it well over the surface so that it is evenly distributed. To do this we can use a spatula or a plastic card. In this way the image transfer will be completed without any problems.
- next, We place the photograph on a wooden surface. that we coated with gel To do this We will place the pictures little by little, trying. No wrinkles or bubbles. In doing this We can help ourselves with a plastic card. by stretching the image as we place it
- Once we have stuck the photograph nicely with the gel on the surface, we have to let dry. To do this, you will need to leave at least some of it. 8 hours at room temperature.
 Paste the picture with gel on the wooden surface.
- When the time required for the gel to dry is over, we can proceed to the next step. Remove the paper. and see how the image is transferred onto the wood. For this we will go Use a little water With the help of a sprayer and we carefully rub the surface with a cloth. It’s very important to go. With care and delicacy Take out all the paper, you can masturbate with your fingertips. If we remove all the paper, we will notice that the image has white coat When it’s dry, it’s really good. We didn’t remove all the paper.. In this case, we need to wet the image again in the areas where it is seen that there is still paper left and use our fingers to gently rub it again.
- Once we remove all the paper and let the surface dry. Our handiwork is ready. If we like the results We can give it. Matte coating to protect the imageWe let it dry and then we can lay out or give away our pieces.
Ideas for transferring images onto wood
in decoration and others in handicrafts creativity It is the key to creating true art. with image transfer You will get original and interesting pieces for both decorating your room and giving gifts. There are many wood surfaces that can be used to transfer images. From furniture to ordinary plywood to picture frames, boxes, pallets, and even handmade toys. Below we will give you some ideas for creating original works using image transfer techniques:
-
- Personal headboard: If we want to have a unique headboard. We have to find it. piece of woodor multiple images and transfer the photos, drawings, or textures we want Here it is very important. Let our imagination fly. and play with the composition of the headboard and its size.
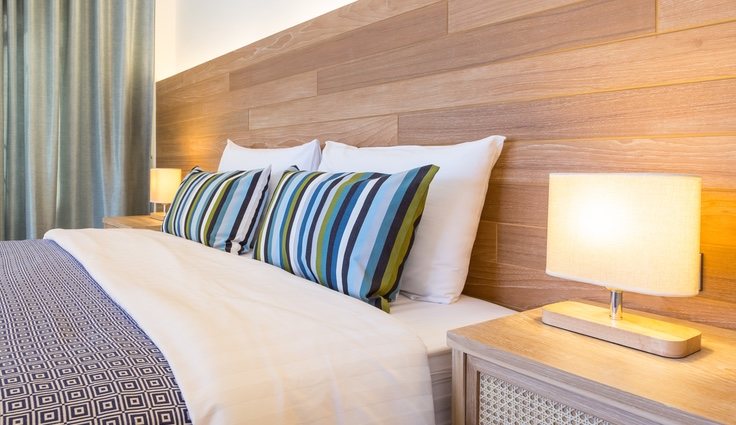 To create a traditional headboard We only need to use one piece of wood and transfer the image.
- Homemade frame: Instead of buying a regular picture frame and putting the photo inside so it can be seen through glass or plastic. We can create our own picture frames or canvases. For this you will need to purchase only one. The wooden board is slightly thick. The size of the image we want to transfer. We can add some type of support to the back of the frame. Install hangers Or just lean it against a wall and a piece of furniture. This can be an original and personal gift that will definitely surprise more than one person.
- printed furniture: Nowadays we not only need to transfer photos or drawings. On the internet we can find all kinds of prints or textures..When you want to change the look of your furniture or give it a second life with printing. Basically, you turn to vinyl or masking tape. But this change can be made in the same way using image transfer techniques and will inevitably have consequences for those who Elements are more integrated and refined..