

How to add a wall power outlet
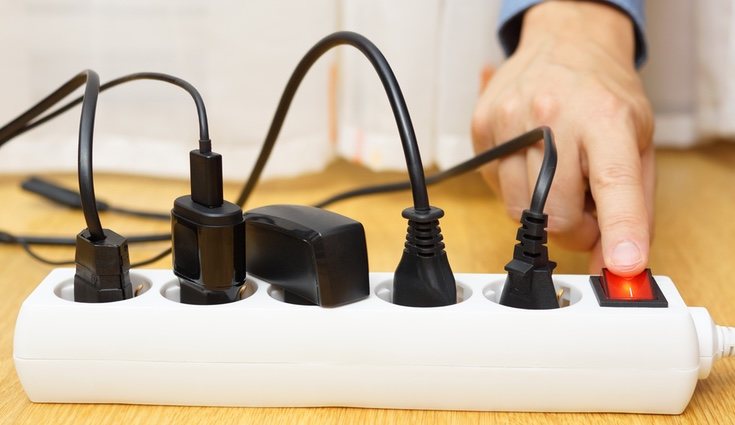
A house with many people living in it needs to have many outlets to avoid unnecessary fights. Learn how to install the socket yourself.
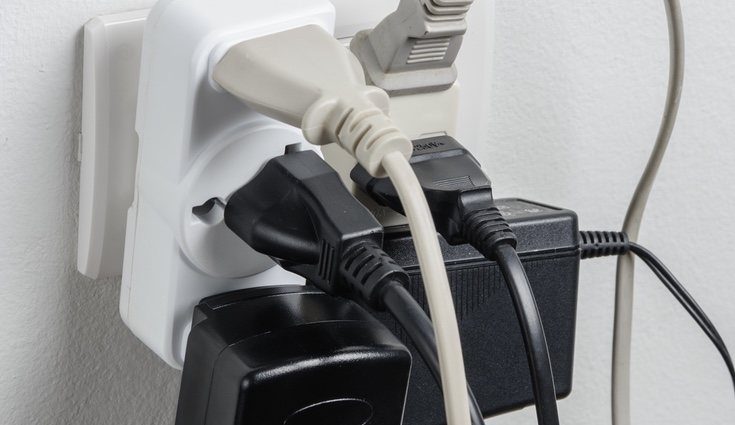
It is therefore not surprising that there are often minor quarrels at home due to the lack of electrical outlets. Or maybe it’s because these days we use too many devices that require this power plug. But surely you have encountered times when you need to charge, for example, your mobile phone and There aren’t enough plugs at home.Now is the time to take it slow. Unplug other family members’ tablets. and pretend nothing happened
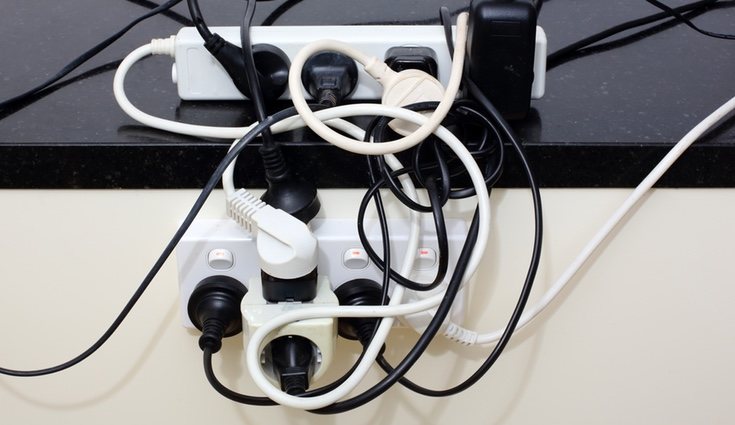
Don’t worry, it will stop happening. Because today we will explain it to you. How do you multiply the power plug through the registration box?We assure you that it is very easy and above all very useful.
Grab a piece of paper, pen, win and aim. Here are the tools you need for this small improvement: screwdriver, special scissors for working with electricity, flower pot, saw, chisel and trowel. Among the recommended materials are: plaster, glue strips, electrical wires, pipes. Corrugated and socket
How to install additional outlets at home
If you don’t really like DIY, are you worried about us?We will explain in detail step by step how to do this simple installation.We will also explain what tools and materials we will use.
This is the first mandatory step you need to take to install electrical outlets in any room. You can do more in the house by cutting off the electricity throughout the house. This step is extremely important. Next we need to decide where we want to place the socket base and mark it. Then use a pencil to draw lines. This will be the path that Slash must take. For those of you who don’t know this term, in the world of DIY, the path that we have to make in the wall to bury electrical wires is called a slash, and then it is covered with plaster.
The most recommended thing for small electrical installations is If we don’t want to place many plugs Just a couple of plugs, it would be better to drill a small hole in the wall instead of the entire gap. Because it will be easier to fill it later and Plus it’s easier to do.. With the help of a small chisel and hammer -pot- We will open a hole in the wall and run wires through the same point.
Next, we need to open a small hole in the wall to place the new outlet box with the help of a chisel and hammer. We won’t take too long.Remember, the holes should be opened small. then enlarged It’s better than having to close it for later.
Once all the holes in the wall, including the outlet box, are drilled. We will have to pass through the corrugated wire. Whichever type is most suitable for our needs. We must consult an expert. Corrugated cable It is an electrical conduit designed to protect and route electrical wires.It is essential and basic as it also provides flexibility to the cable and provides insulation.
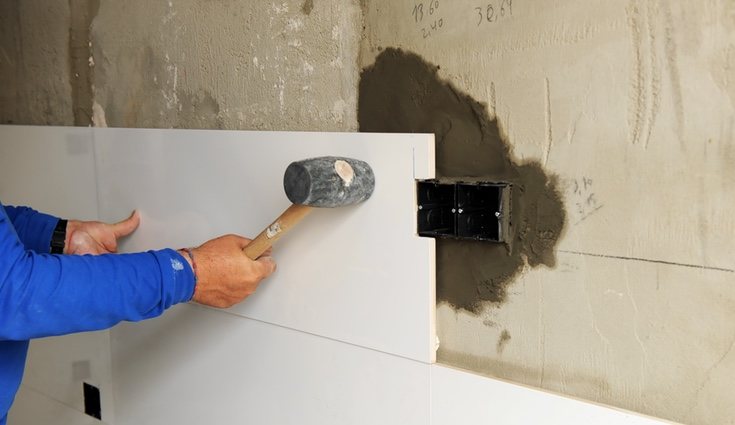
It’s time to fill the gap with plaster according to the mixing measurements specified by the manufacturer. Before plastering with a trowel Don’t forget to close the electrical outlet box as well. To avoid stains or scraps.
The hardest step comes when running the cable from the new box to the registration box. Here you will need to pay a lot of attention. With patience and care, you will achieve good results. To route the wiring from the new box to the register box we will need to With the help of cable glands or an electrician’s guide to connect the wires and pull the cable gland out through the pipe from one groove to another.
We will carefully tighten the box cover. Connect a new plug. Now we check if the plug works and finally we place the edge and if we see fit. We can paint over the lid..
It’s time to add color to the room again. And paint the holes we made for the wires to pass through. And later we had to cover it with plaster.
Another option, for example, is that if we want to add one or two more plugs, we don’t have to create scratches or holes in the wall. in order not to be damaged and run the wires from the new box to the registration box. Through the self-adhesive gutterSat. A convenient and economical option that does not take much time. But it is true that the aesthetic results will never be the same.